Pruning and Canopy Management
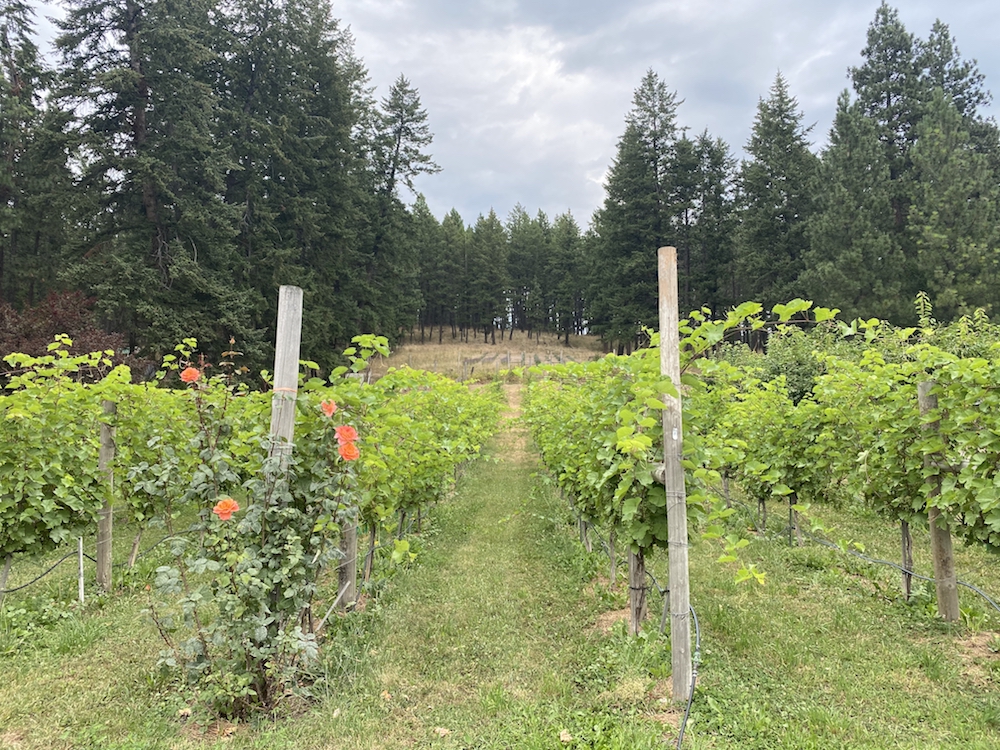
Spotted Bear Vineyard's beautifully tidy rows are a result of diligent pruning throughout the year.
Overview
Grapevines can be challenging to manage on a large scale. It's a good ideal to develop a canopy management plan for your vineyard before the growing season begins. While there are mechanized methods for accomplishing some canopy management goals in larger-scale vineyards, most grape growers in Montana function on a very small scale. For that reason, we will focus primarily on manual, hands-on canopy management techniques.
Canopy management practices have three main objectives: 1) maximizing sunlight interception; 2) minimizing shading; and 3) balanced growth (“Care of Established Vineyards (PDF),” Minnesota Grape Growers Association; Dr. Richard Smart, South African Journal of Enology and Viticulture, Vol. 11, 1990). Several interventions made throughout the year will make harvest more efficient.
Below are diagrams detailing the different parts of a grapevine and the associated terminology. Note that different growers may use different terminology for the parts of a grapevine (e.g. a "watersprout" is also known as a "lateral").
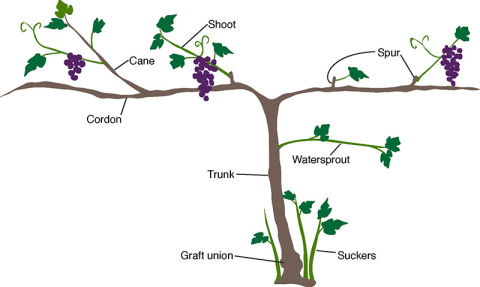
Above: Diagram of larger structural parts of grapevine, courtesy of University of Minnesota Extension.
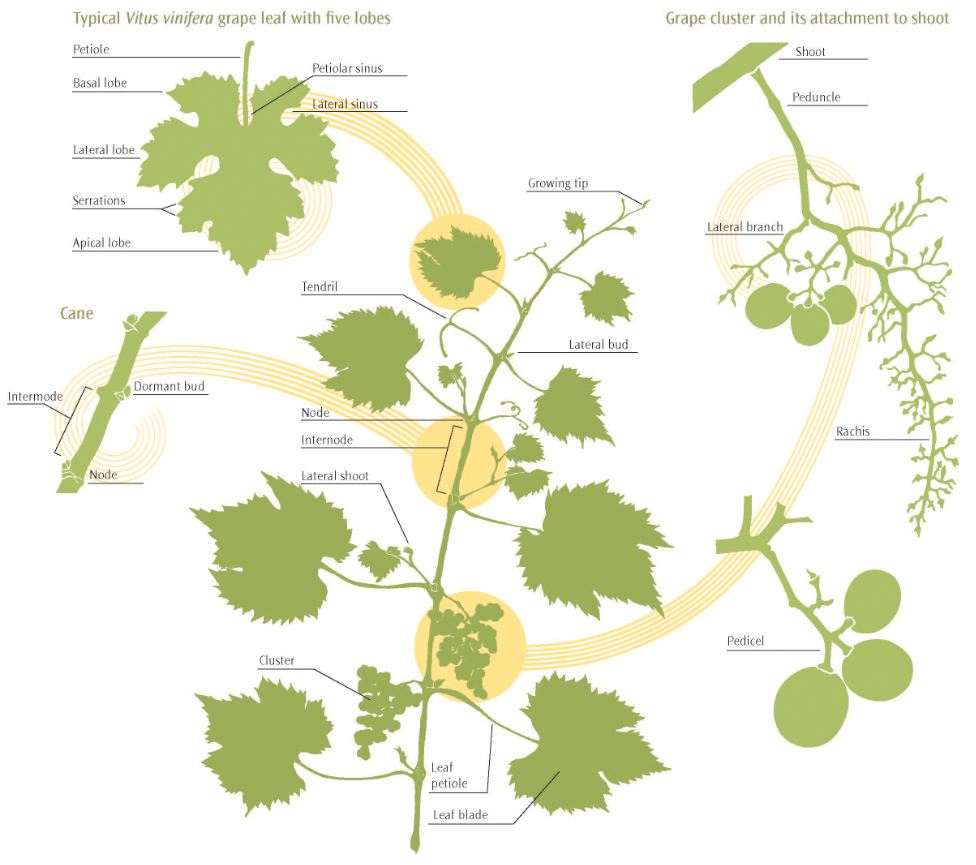
Above: Diagram of the smaller parts of a grapevine's shoots, courtesy of University of California Division of Agriculture and Natural Resources (UCANR).
Dormant Pruning
For established vines, dormant pruning is typically done in early spring, before growth starts (in Montana, this is usually sometime in March). The first step is to assess winter damage to the previous season's buds so that you can determine the extent of pruning needed on those canes. This is especially critical if the vines experience temperatures that could damage the buds in the previous fall and winter. To do this, you can follow this protocol or something similar that is suited to your vineyard:
- Sample only mature vines, i.e. those with established cordons that will require pruning for crop load management. Sample at least 6-8 vines per cultivar, as different cultivars can have drastically different susceptibility to cold injury.
- Take sample cuttings from the fruiting zone of the dormant vines’ shoots/canes. Collect two cane samples from each vine, sampling at least 6-8 vines per cultivar. Each cane sample should represent those that you would leave during dormant pruning (but try to choose canes that you do not plan to leave during pruning). Select pencil-sized canes with at least 8-10 buds located in the fruiting zone of the vine (near the cordon). The terminal sections of the canes (ends of canes that would not be kept after pruning) can be cut off.
- Bring samples indoors and leave for 24-48 hours. This gives the damaged buds a chance to warm up and desiccate, making it easier to assess bud injury.
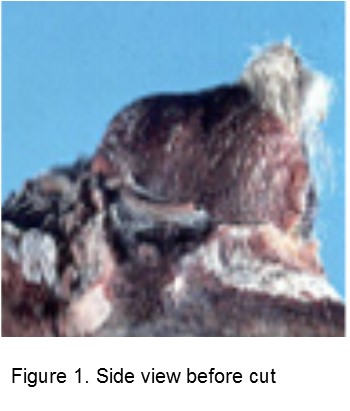
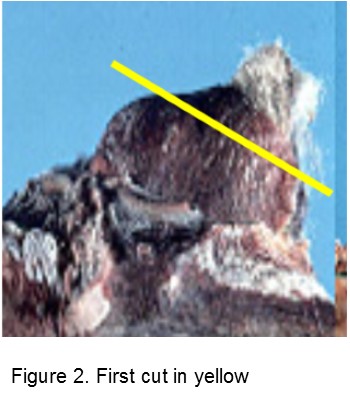
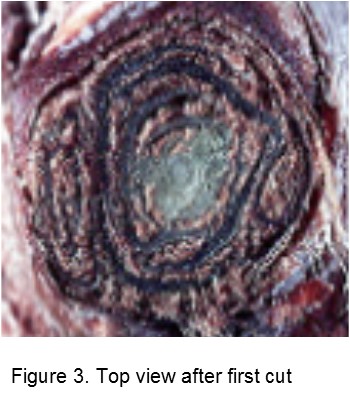
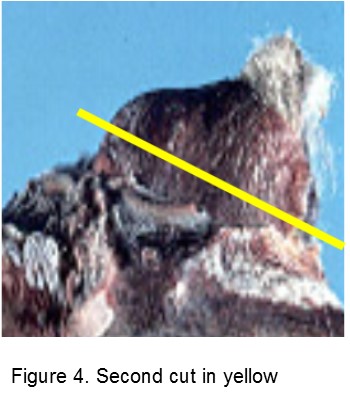
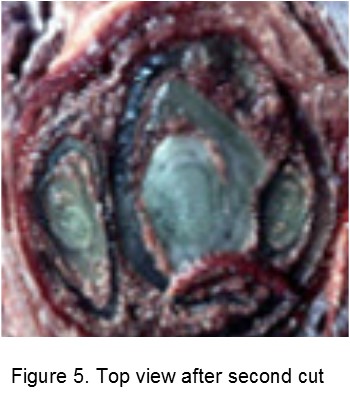
- After 24-48 hours indoors, assess bud damage on all samples by using a razor blade to cut cross sections of each bud (see figures below). If the tissue is brown, the bud is dead; if green tissue is evident, the bud is probably healthy. For each vine, record the total number of buds, sample each bud, and record the number of surviving (green) primary buds (the central bud).
- 11% bud injury is considered typical and no change is necessary in pruning technique. Bud injury greater than 15% of sampled buds indicates higher-than-normal cold injury and 1-2 extra buds should be left on a longer cane. If damage is near 50%, leave twice as many buds as originally planned. If damage is greater than 50%, pruning should be minimized.
The figures below show the specific cuts to make and visuals to expect for assessing bud survival (from "Assessing Grapevine Bud Damage," Joseph A. Fiola, Ph.D., University of Maryland Extension):
Additional resources:
Assessing Grapevine Bud Damage, Joseph A. Fiola, Ph.D. (University of Maryland Extension, Feb. 2018)
Assessing Bud Injury and Adjusting Pruning (list of resources compiled by Cornell University)
Bud Thinning and Suckering
Help your vines concentrate resources (carbohydrates/sugars and water) to the fruiting zone, which (depending on your training system) is along your trellising wire(s). In early spring, remove any fruiting vegetative buds from anywhere else on the vine, i.e the trunk. Simply rubbing a finger over the bud should cause it to fall off (see images below for reference). Your vines will likely continue to produce more buds throughout the spring, so this process can be repeated during the early stages of the growing season.
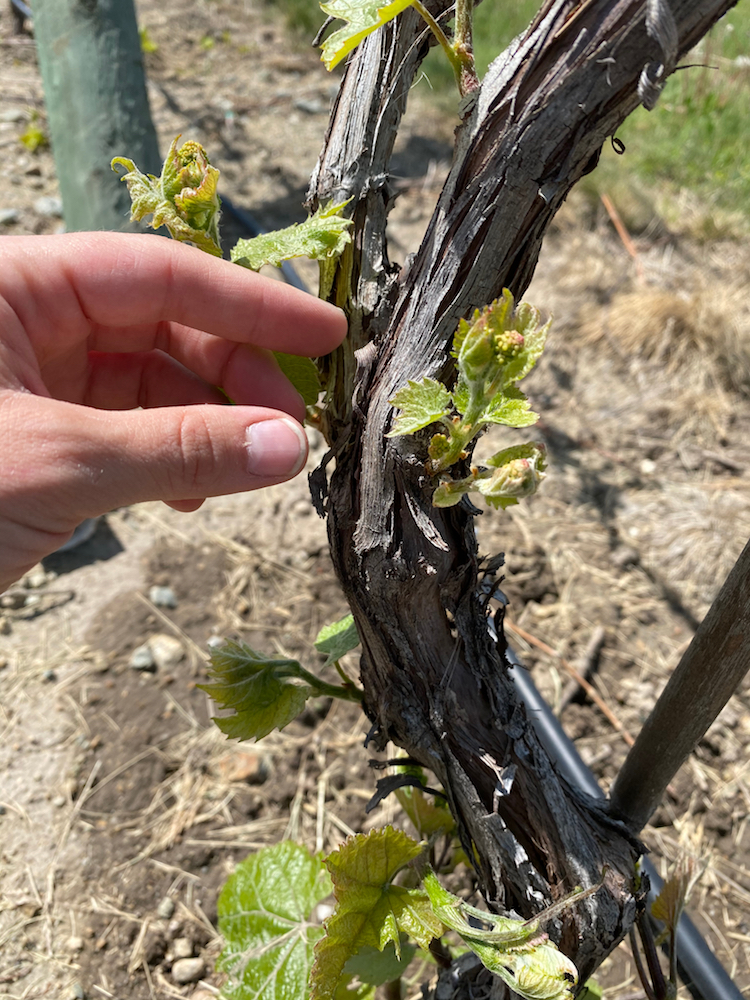
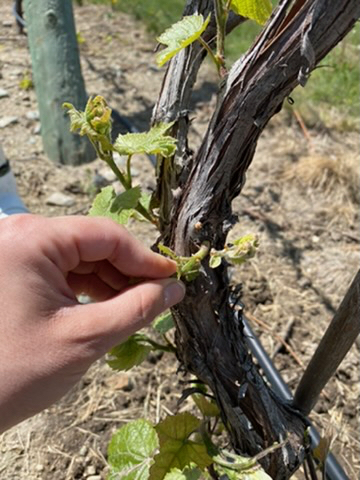
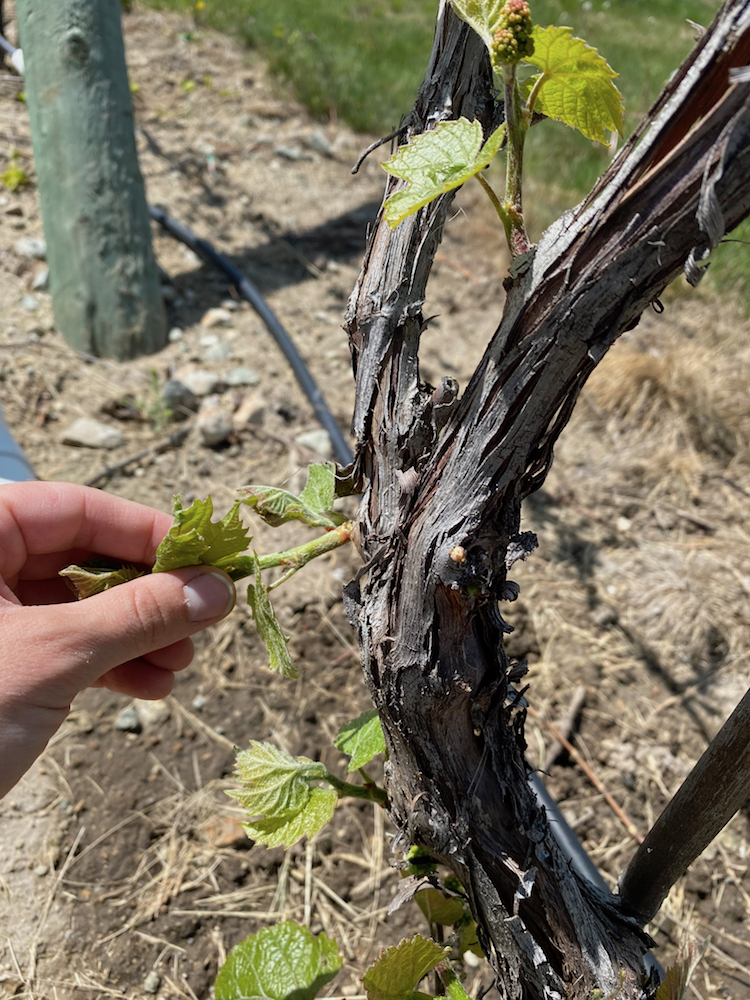
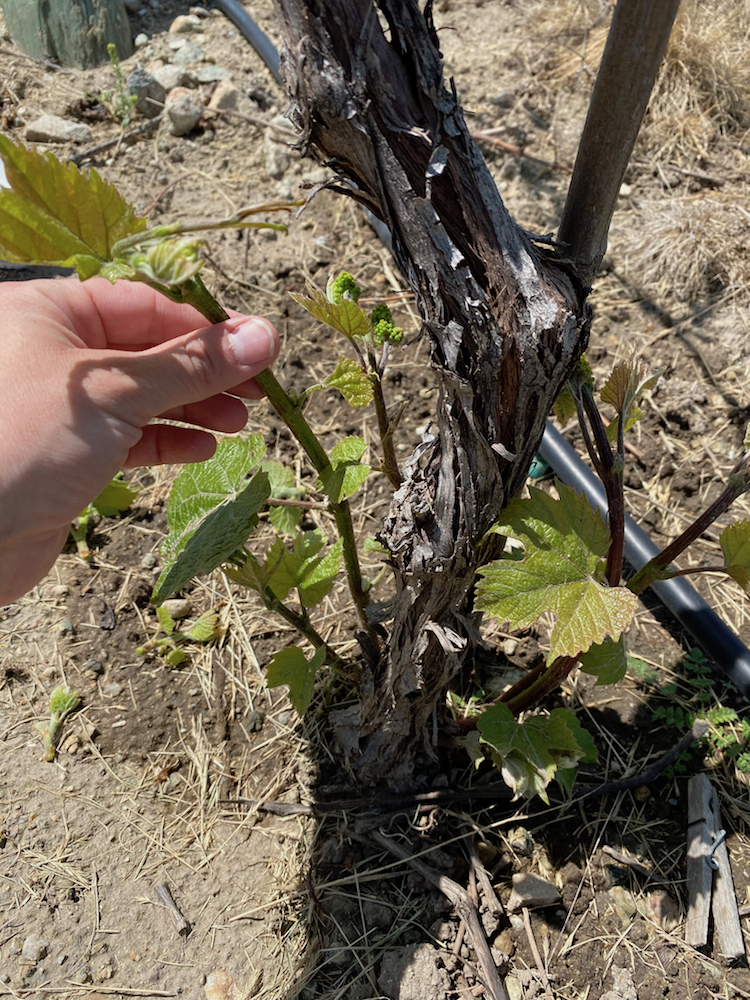
Suckers will continue to sprout up throughout the growing season, so unless you're trying to replace a cordon, you'll want to diligently remove those suckers as they appear.
Suckers emerging at the base of the vine should also be removed. These can originate from the trunk or roots. It’s best to simply pull these off when small, as not shearing closely enough with pruners may leave vegetative buds behind. If done early in the season, removal of suckers and buds should take little effort.
Replacing a trunk or cordon
To prepare a new trunk, leave a sucker or two, and allow them to grow throughout the summer. Then choose the healthier option, and train it up the trellis alongside the existing trunk. To replace a cordon, leave a strategically-placed bud (ideally one that is in line with your trellis wire), and train it along your trellis throughout the season.
Shoot and Cluster Thinning
There are a number of different types of shoots that can emerge from different points along the cordon. In general, prune to about 4-6 shoots per foot of cordon, using the following strategies:
- Prune so that spurs (the woody nodes out of which spurs grow) are spaced ~6 inches apart on the cordon. This creates better opportunities for gaps in the canopy through which sunlight can penetrate.
- Retain an average of two fruiting shoots per spur. When choosing which shoots to keep, consider the quality of the shoot (how many clusters, showing healthy growth, etc.). If you have more than two healthy shoots, keep the shoots that are closest to the base of the spur, so as to prevent “spur creep,” or the lengthening of the spurs along the cordon.
- Once your vines have reached fruit set, thin any tertiary clusters on shoots, keeping only two clusters on each shoot. Thin the least hardy-looking cluster, or the farthest cluster from the base of the shoot. This will help increase cluster quality by allowing the vine to focus its resources into fewer clusters. You may be tempted to leave as many clusters as possible for greater yield, but you may have lower yields at harvest.
- As the season progresses, the mature canes (shoots) will start producing secondary shoots. Prune the first 3-5 (closest to the cordon) secondary shoots on each cane. This will open up the vine further, allowing better airflow and greater sun exposure for the clusters (helping to hasten the ripening process). Unless vegetation is getting out of control later in the season, you can retain secondary shoots growing farther down the cane, as these will provide extra leaf surface area for photosynthesis.
Leaf Pulling
An optional but advantageous step you can add to your canopy management plan is leaf pulling. This involves pulling any leaves at or between the terminal cluster and the base of the shoot. This will help to expose clusters to sunlight. Pull leaves after fruit set and while the berries are still small and green. Pulling leaves before fruit set can result in stunted photosynthesis, and pulling leaves too long after veraison can result in the vulnerable young berries becoming sunburned.
Training, Tying, and Combing Shoots
An important piece of a successful canopy management plan is regular training (i.e. combing) vines. Because they will continue to grow vigorously throughout the season, grapevines can quickly become unruly, even if cleaned up earlier in the season. You might find your vines sagging off of the trellising, growing into neighboring vines, bunching together on top of wires, and attaching themselves to irrigation, bird netting, and anything else in their reach.
Vineyard vigor is encouraged by allowing sufficient sunlight to penetrate the canopy, which will facilitate fruit ripening and robust woody tissue development, and minimize over-shading, which can restrict airflow within the canopy and harbor diseases and pests. In addition to the pruning techniques described above, vines must be maintained periodically, yet canopy management can be overdone. Each shoot requires about 15 leaves to ripen the clusters. Once the shoots have reached this threshold, the tips can be trimmed if needed.
Vineyard management tools
Bamboo or Other Stakes
Placing a stake (of bamboo or other material) is key to training vines vertically towards the top wire. Stakes should be secured to trellising and thin enough so that tape or clips can be secured both around the stake and vine. At WARC, we use a combination of bamboo poles and wire clips for stabilization.
Tapener
A tapener is an efficient tool for attaching new cordons to wires. While the tape is relatively weak and ineffective for attaching larger trunks and canes, it can help provide support in conjunction with clips.
Clips and Ties
Heavy-duty clips and/or ties can be used for securing thicker, heavier trunks and canes to trellising wires.
With these tools, keeping a tidy canopy throughout the season is just a matter of persistence and consistency when employing the following techniques.
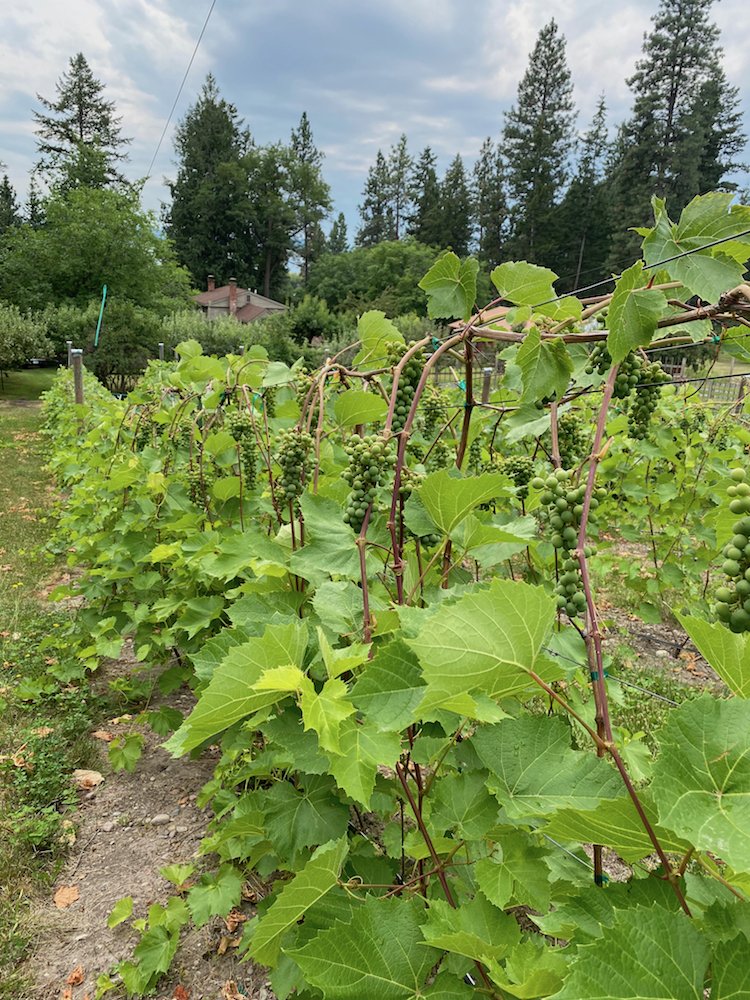
A satisfyingly neat row of vines with "combed" shoots in a private vineyard managed by winemaking Larry Robertson.
Training and “Tying Off”
Check vines throughout the season, and secure the first and second years of growth to the trellis. A good strategy for protecting against wholescale winter die-back is to establish and train two separate trunks for each vine. Ideally, each trunk should originate below the lowest wire, as close to the ground as possible. If you choose to take this route, you will need to keep an eye on these newly established trunks throughout the season, taking care to secure new growth up the stake and eventually onto the wire using a combination of tape, clips, and whatever other ties you choose. You may also notice older, well-established cordons becoming heavier and sagging off of the wire. Add clips and tape as necessary to secure these cordons before the current season’s growth has fully come in, as it can add so much weight that it deforms the cordons or pulls them clear off of the wire.
Combing Shoots
As your vines start putting on vigorous growth from their shoots, they have a tendency to clump together on top of the wire and creep their way into neighboring vines’ canopies. It is important to periodically go through and detangle or “comb” these shoots so that they hang down vertically. For shoots growing more horizontally that are intruding into their neighbors’ canopies, you may want to simply trim them back. Try to be as gentle as possible when combing shoots, so as not to break them off from the spur. Tendrils can become difficult to break or detach by hand, so clipping these with pruners can help the detangling process go more smoothly.

